SwRI Receives $1.6 Million Contract for new Inspection Methods
--10.4.21.png.png)
Institute will use new industry techniques to detect anomalies in engine components
Southwest Research Institute is leading a team effort to develop new inspection methods for nickel alloy billet materials used in commercial aircraft engine components under a new $1.6 million Federal Aviation Administration (FAA) contract.
In 2016, American Airlines Flight 383 was preparing to take off from Chicago’s O’Hare International Airport when one of its engines suffered a sudden failure. An investigation revealed that an engine disk had ruptured into two pieces, which flew off in separate directions — one into the airplane’s fuel tank and the other into a nearby building. Fortunately, no one was injured.
Investigators discovered that the ruptured nickel alloy disk had “dirty white spots” — defects in the alloy that can lead to cracks that cause the components to fail.
“If this had happened in the air, it could have been catastrophic,” said Clinton Thwing, manager of SwRI’s Sensor Systems and Nondestructive Evaluation Technology Section and the project’s leader. “In the aftermath of the incident in Chicago, the FAA continued to request inspection of all disks associated with that failure. The National Transportation Safety Board also determined that new inspection standards were needed, specifically during the billet stage of production for the manufacturing of engine components, and SwRI has been selected as an independent third party to lead the effort to help develop those standards.”
The nickel alloy component that failed in Chicago was made with nickel alloy billets, which are made by mixing molten nickel with many different metals in powder form. However, this powder doesn’t always smelt evenly, leaving behind pockets of unmixed metal alloys that appear as dirty white spots in the finished alloy material.
“Previously, manufacturers tried to solve this problem by re-smelting the alloy to reduce the chances of a potentially catastrophic anomaly occurring,” Thwing said. “Therefore, we are going to develop an entirely new inspection philosophy.”
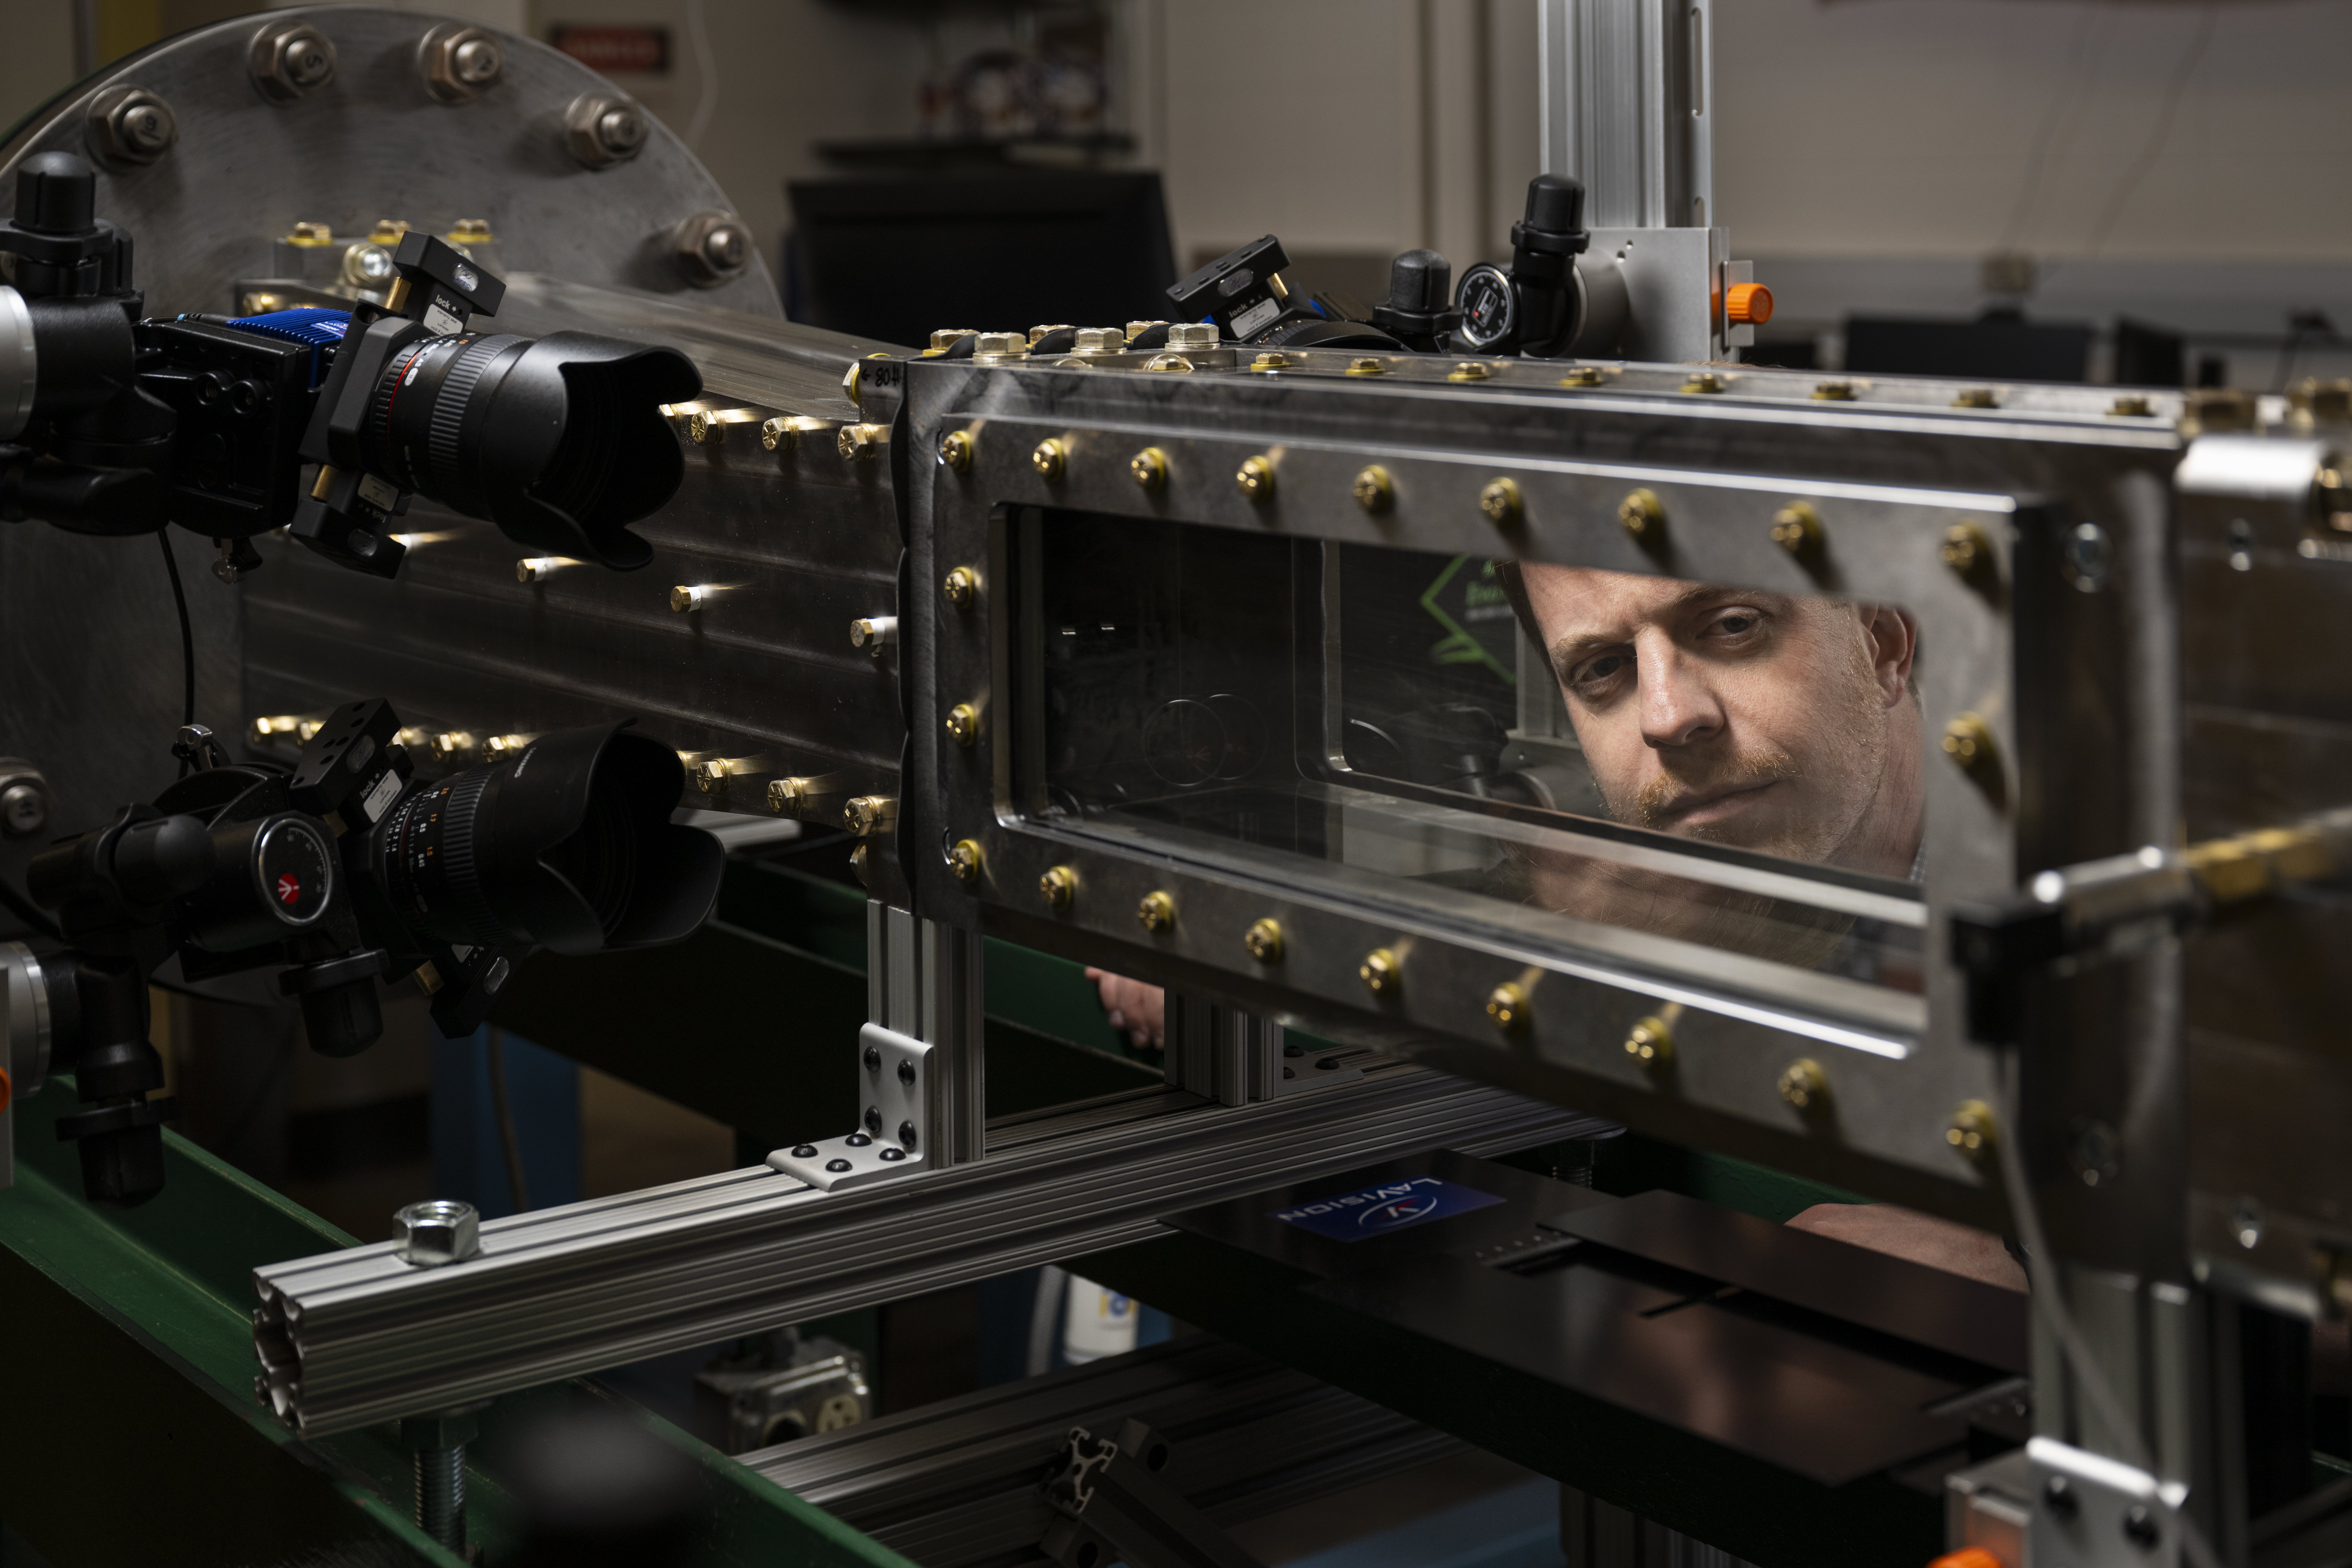
SwRI will work with the vendor that supplies the alloys and the component manufacturers to develop a new calibration standard and new inspection methods. Thwing plans to create synthetic anomalies in nickel alloy 718 test specimens and use CT scanning to locate and examine the defects. He will also assess inspection methods adopted by other industries and adapt aspects of them to gauge whether they are more effective than current procedures.
“We’ll model the material, the defect, and the inspection approach to determine what works best,” Thwing said. “We want to develop the best inspection procedure, not just the quickest. We have to take advantage of advances in our industry and create something more accurate.”
SwRI has a long history of working to improve the safety of commercial aircraft. The Probabilistic Integrity and Risk Assessment of Turbine Engines (PIRATE-3) program, which was created in 1995 to assess the risk of fracture in engine rotors, is now in its third phase. In that program, SwRI engineers created DARWIN (Design Assessment of Reliability with INspection), a fracture mechanics and reliability assessment software tool that supports damage tolerant design and analysis of metallic structural components. Aircraft manufacturers across the globe use this tool to ensure that engine designs are resistant to dangerous cracks.
EurekAlert!, the online, global news service operated by AAAS, the science society.


