Unprecedented Speed, Flexibility for Roughness Measurement
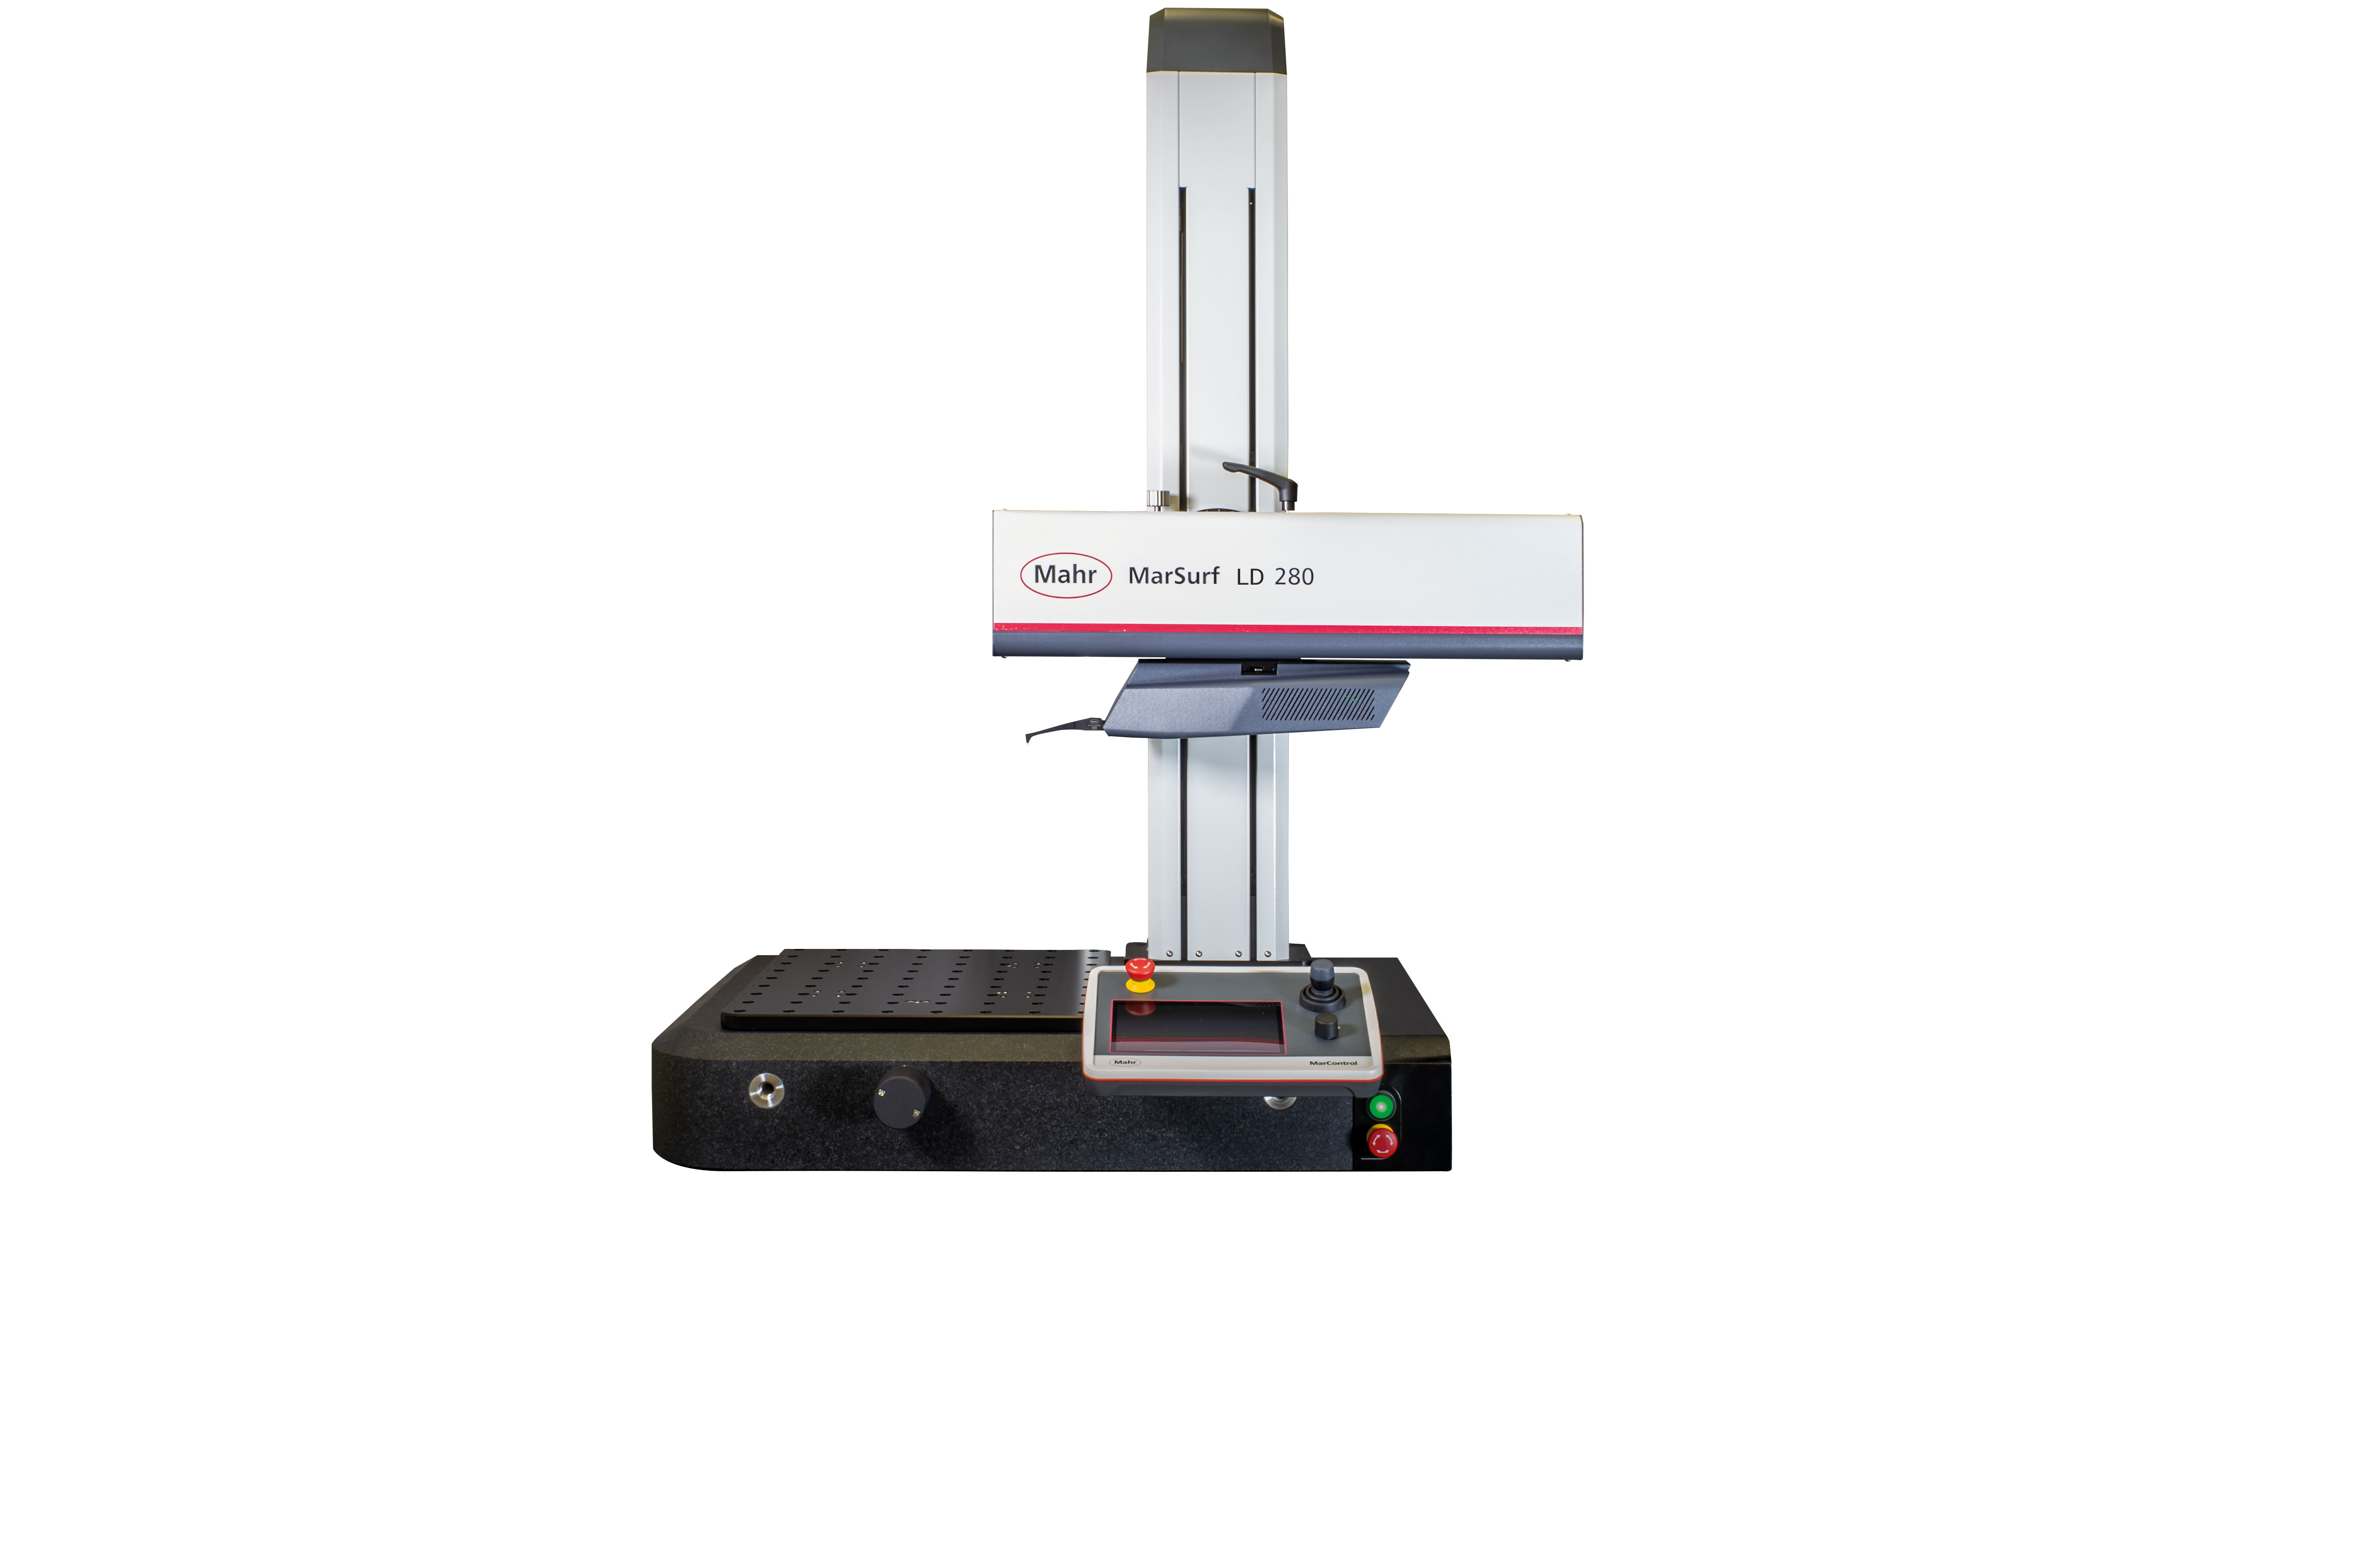
PROVIDENCE, RI – Mahr Inc. announced the addition of the MarSurf GD series for roughness measurements to its new line of surface measuring instruments. MarSurf GD series measuring stations provide unprecedented levels of speed, flexibility and intelligent ease of use, allowing users to improve the manufacturing quality of workpieces with faster throughput and higher accuracy for the broadest range of applications. Developed from the ground up with the leading technology, quality and innovation that Mahr is known for, the new MarSurf GD series enable profile and waviness evaluations to be carried out in addition to surface roughness evaluations.
The MarSurf GD series significantly increases the speed of all moving axes to reduce the cycle time of the
measurement process, allowing more throughput which is particularly valuable when used directly in the production environment. The drive units of the MarSurf GD seriesmove the probe with positioning speeds of up to 200 mm/s, making the systems up to 40 times faster than predecessors. All Z-axis columns on the measuring stands of the MarSurf GD series are fully CNC-capable with fast positioning speeds of50 mm/s, which is up to five times faster than standard Z-axes on the market today.
The MarSurf GD series also offers the ultimate flexibility with available sizes of 140mm and an industry-first 280mm. The 280mm measuring station allows for the measurement of applications that were previously impossible, including larger parts or a series of smaller parts staged together—all on the same machine.
Furthermore, all MarSurf GD series products are equipped with intelligent MarWin Easy Roughness software to provide the ultimate ease of use. Many operations can be performed right out of the box, such as creating instructional UIs to guide a user through all the steps of a specific measurement.
The GD Series features a large mounting plate with 50 mm bore pattern, 60 mm Y adjustment, and Z-axis of 350 mm or 600 mm. Available with standard probe arm lengths up to 135 mm (3x length) for measuring ranges up 1.5 mm vertically, these instruments also are capable of measuring contour features such as radius, angle or depth within that range. All probe arms feature a quick-change magnetic mount to ensure the fastest changeover time, as well as extra security allowing the probe to “break away” in the event of an accidental collision—protecting both the probe and the system. The GD series also includes an integrated turret to rotate the probe to 90 degrees for transverse measurement and the ability to rotate the probe system 180 degrees to allow “upside down” measurement.
For more information, visit www.mahr.com
